
By: [email protected]
Published January 1, 2022 at 09:23 PM
NextCloud - Production
Guide on setting up NextCloud for production instance.
NextCloud - Production
Introduction
While playing with NextCloud locally is entertaining and all, it's not very practical or usable. To start actually using NextCloud, you need a bit more to ensure it's performant and secure. We're going to walk through one such way in this post, also using Docker like in part 1.
Docker Compose
Just like last time, we're going to do this via Docker. So theoretically, NextCloud can be built off of any LAMP style stack (Linux, Apache, MySQL, PHP) - this does have some caveats, however.
- A: we theoretically could use any webserver - most commonly Apache or Nginx. We will actually be using both.
- M: It is highly recommended NOT to use MySQL in production - Postgres or MariaDB are preferred so whatever your preference is.
For this tutorial, we will be using Postgres and Apache on Alpine Linux however feel free to use whatever tech you prefer. To start, you're going to want to create a 'docker-compose.yml' file with the 'standard' intro i.e.,
version: '3'

services:
...
We're going to walk through each container/service one by one to see their purpose. Add these in order to your Docker Compose file.
DB
For the database service we're going to add the following right under the 'services' section:
db:
  image: postgres:alpine
  restart: always
  volumes:
    - db:/var/lib/postgresql/data
  env_file:
    - db.env
Key points:
- image: our Postgres image is specific to Alpine Linux. Docker Images usually have associated tags like 'alpine' in this case - you can see more on Docker Hub.
- restart: this is a restart policy and in this case just says to always restart the container (unless manually stopped.)
- volumes: most DB setups in Docker require a volume link for data persistence.
- env_file: we will create 'db.env' shortly!
Redis
While not required, Redis is highly recommended for caching for NextCloud. You can add it with the following lines
redis:
  image: redis:alpine
  restart: always
App
The biggest container in this setup:
app:
  image: nextcloud:apache
  restart: always
  volumes:
    - nextcloud:/var/www/html
  environment:
    - POSTGRES_HOST=db
    - REDIS_HOST=redis
  env_file:
    - db.env
  depends_on:
    - db
    - redis
  networks:
    - proxy-tier
    - default
Key points:
- Volumes: Apache web directory to serve.
- Environment: note that these refer to the 'local' names we're calling these services in this YAML file.
- Depends_on: always have this if doing the above and referencing local services.
- Networks: we will write these soon!
Cron
While they don't explicitly say this is required, it is used to complete background tasks for NextCloud - something I'd imagine is important but who really knows. Regardless, the config looks like this:
cron:
  image: nextcloud:apach
  restart: always
  volumes:
    - nextcloud:/var/www/html
  entrypoint: /cron.sh
  depends_on:
    - db
    - redis
Proxy
Now here's where it gets fancy. The 'proxy' container is a reverse proxy, a network/HTTP proxy to help us handle HTTP, HTTPS, app routing, etc.
proxy:
  build: ./proxy
  restart: always
  ports:
    - 80:80
    - 443:443
  labels:
    com.github.jrcs.letsencrypt_nginx_proxy_companion.nginx_proxy: "true"
  volumes:
    - certs:/etc/nginx/certs:ro
    - vhost.d:/etc/nginx/vhost.d
    - html:/usr/share/nginx/html
    - /var/run/docker.sock:/tmp/docker.sock:ro
  networks:
    - proxy-tier
You may notice as well that while we have been talking about Apache this entire time, this proxy is all Nginx. Nginx here is our external facing server/proxy, routing requests to the Apache server. The reverse proxy allows us to serve this 'behind' HTTPS. As far as why we use Nginx and Apache - honestly I can't really say why that is, Nginx does seem more built to be a reverse proxy but Apache definitely has the same capability. That said, it is the most common setup I've seen online, so we're gonna roll with it. Next, you will need to add a folder called 'proxy' (as indicated by the ' build' line in the above config) and in it, we're going to make two files. The first file will be a Dockerfile called 'Dockerfile' that contains the following:
FROM jwilder/nginx-proxy:alpine

COPY uploadsize.conf /etc/nginx/conf.d/uploadsize.conf
The second file is a config file called 'uploadsize.conf' that contains the following:
client_max_body_size 10G; proxy_request_buffering off;
All this does is tell the Dockerfile to add this config file to the Nginx proxy in the 'proxy' service. In this case, said config just caps the upload size we want to allow.
Lets Encrypt
Last but certainly not least, to set up HTTPS/SSL easily and for free, we're going to add a container to handle Lets Encrypt. It's pretty solidly built, doesn't abuse their rate limit and is easy to integrate with so overall a win in my book. The config:
letsencrypt-companion:
  image: jrcs/letsencrypt-nginx-proxy-companion
  restart: always
  volumes:
    - certs:/etc/nginx/certs
    - acme:/etc/acme.sh
    - vhost.d:/etc/nginx/vhost.d
    - html:/usr/share/nginx/html
    - /var/run/docker.sock:/var/run/docker.sock:ro
  networks:
    - proxy-tier
  depends_on:
    - proxy
Closing
To tie it all together you're going to add the following to the end of your Dockerfile (not in the 'services' section):
volumes:
  db:
  nextcloud:
  certs:
  acme:
  vhost.d:
  html:

networks:
  proxy-tier:
The 'volumes' section simply allows all these containers to interact and use each other's data and the 'networks' section simply creates the virtual network we've been referencing in all these containers. For more on Docker Networking visit this link.
db.env
Your environment variables are:
POSTGRES_PASSWORD=password
POSTGRES_DB=nextcloud
POSTGRES_USER=nextcloud
VIRTUAL_HOST=www.example.com
LETSENCRYPT_HOST=www.example.com
[email protected]
Like last time, please please please pick good passwords and please make a 'db.env.example' - you'll thank yourself later.
Testing your work
At this point, your Dockerfile is basically complete. Let's test it to make sure we're good so far. Let's start by running Docker Compose on the file. In the same directory as your ' docker-compose.yml' file run:
docker-compose up -d
This will take a second the first time to download all the associated images/files. Once complete the output in your terminal should look good, and you should see your Docker desktop:
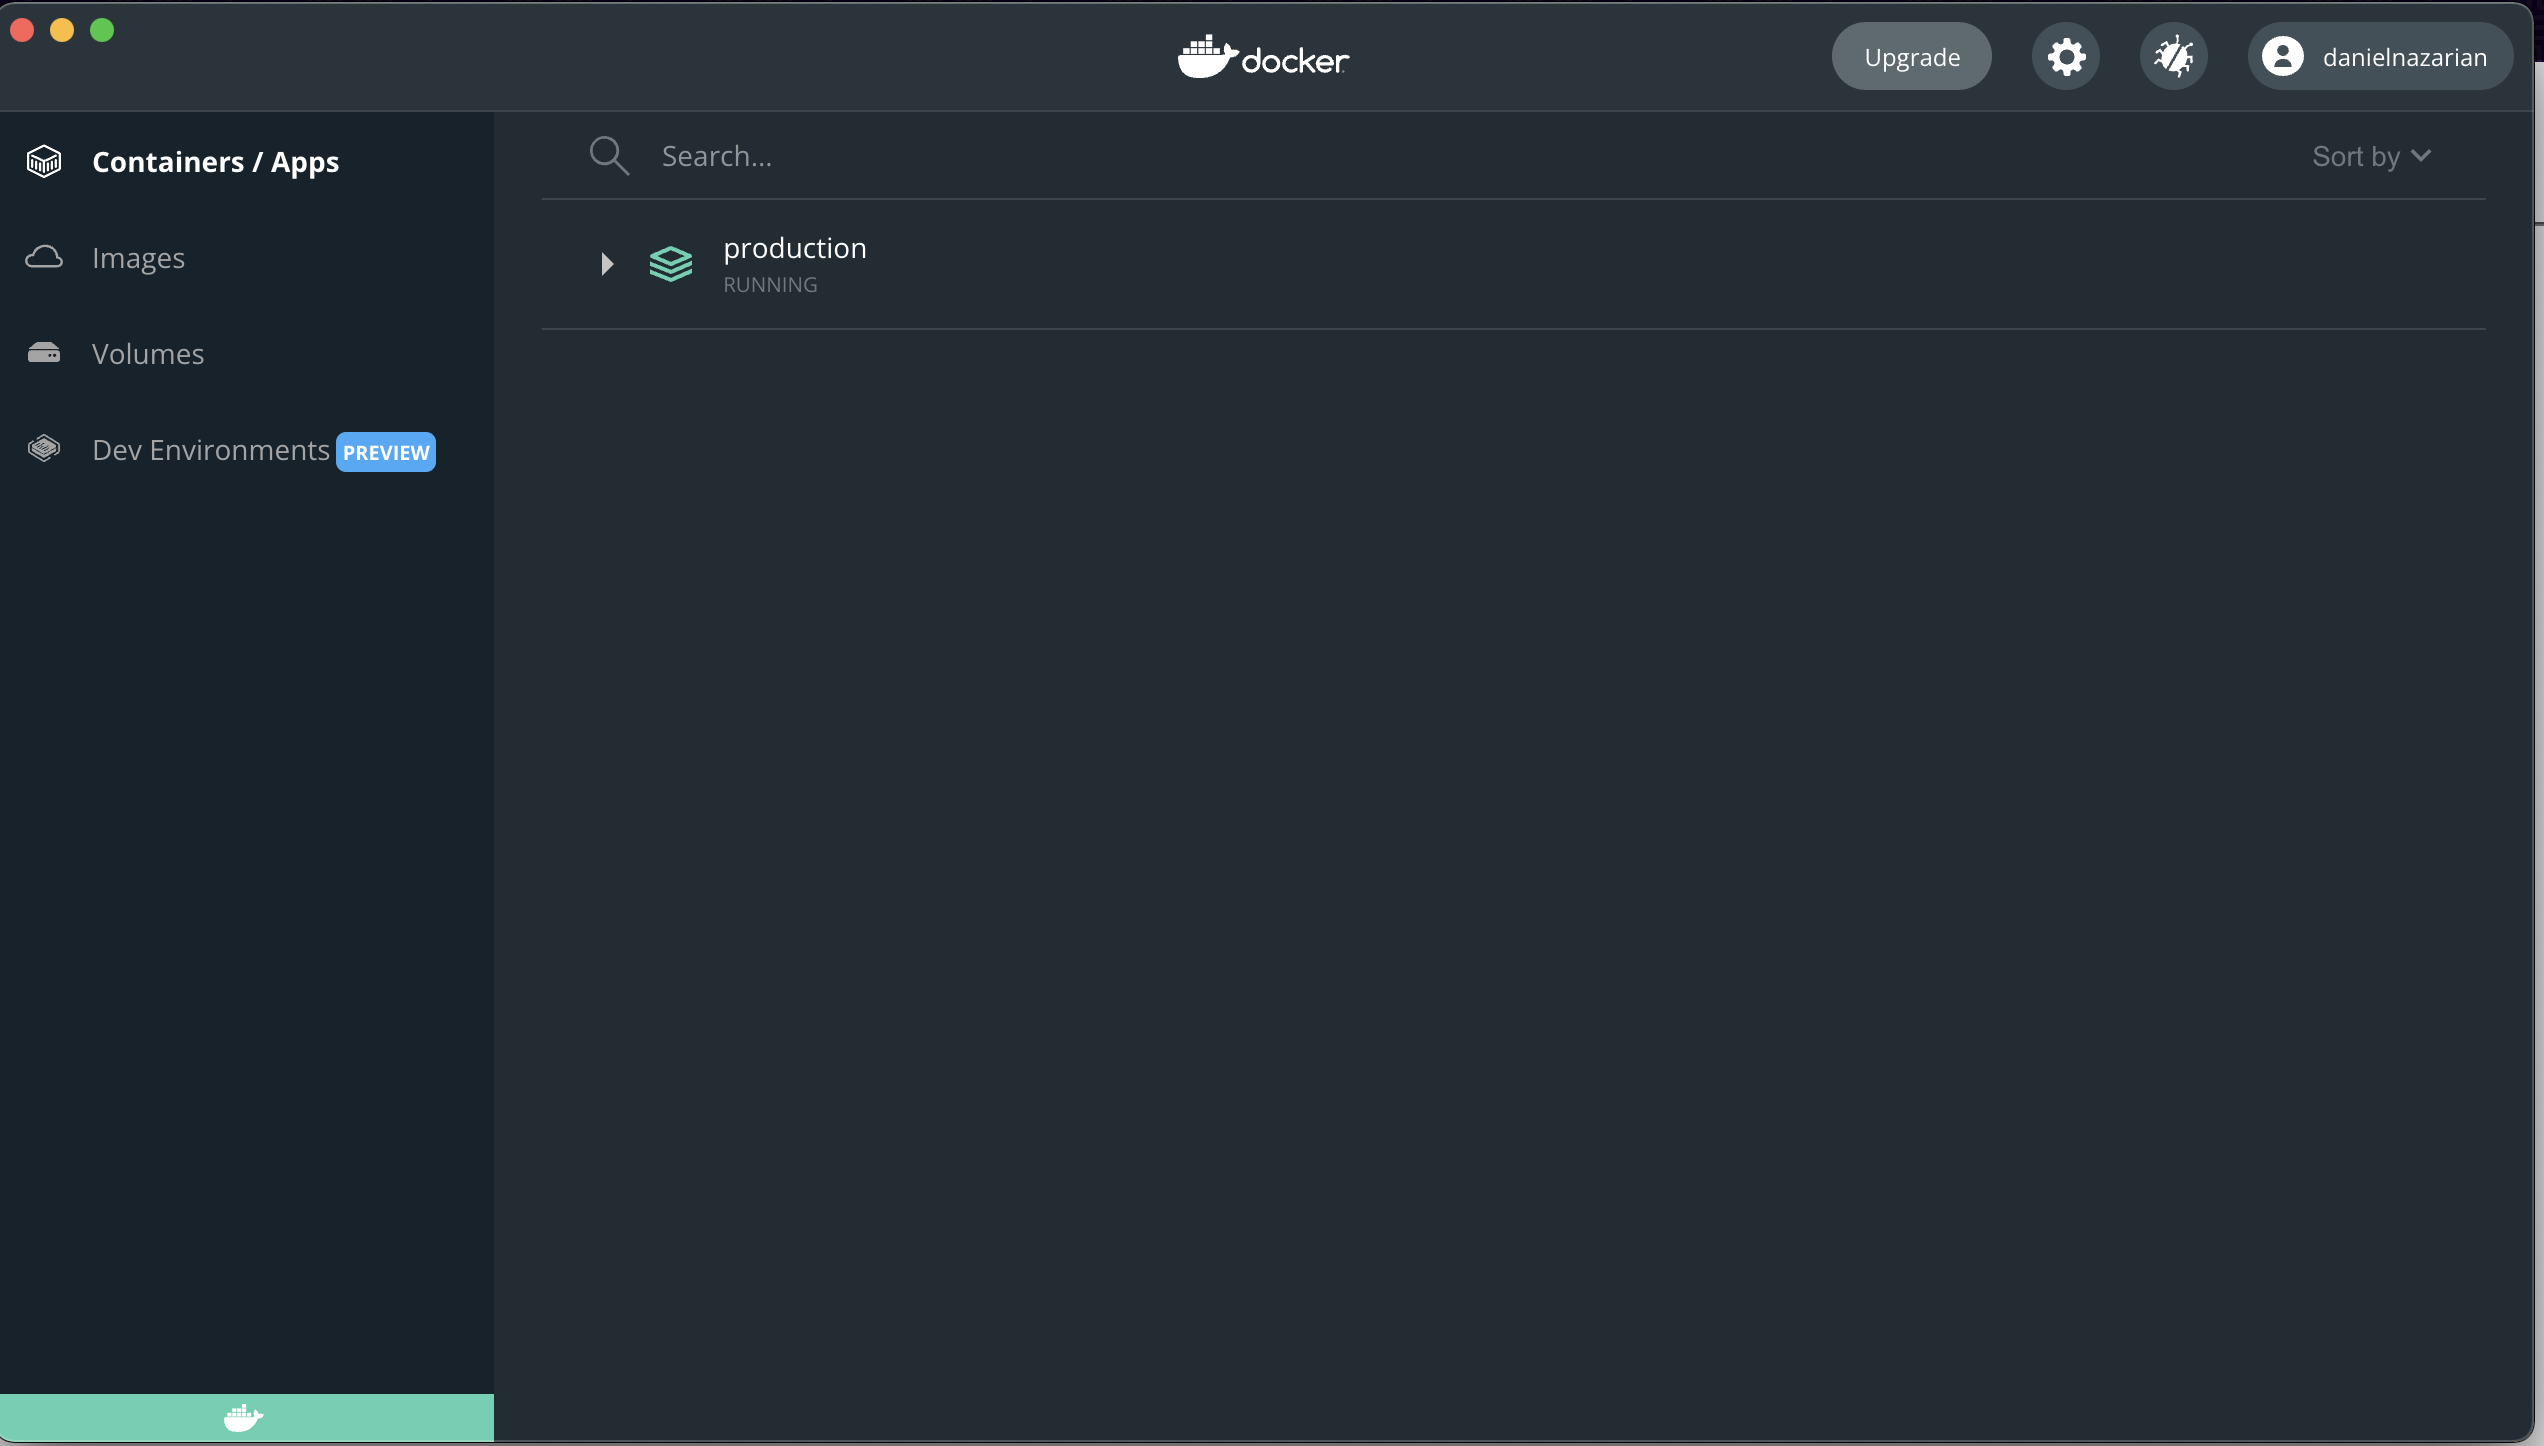
The container name should default to the name of the folder your 'docker-compose.yml' file is in. If you click on the container you can get a lot more info/access as well:
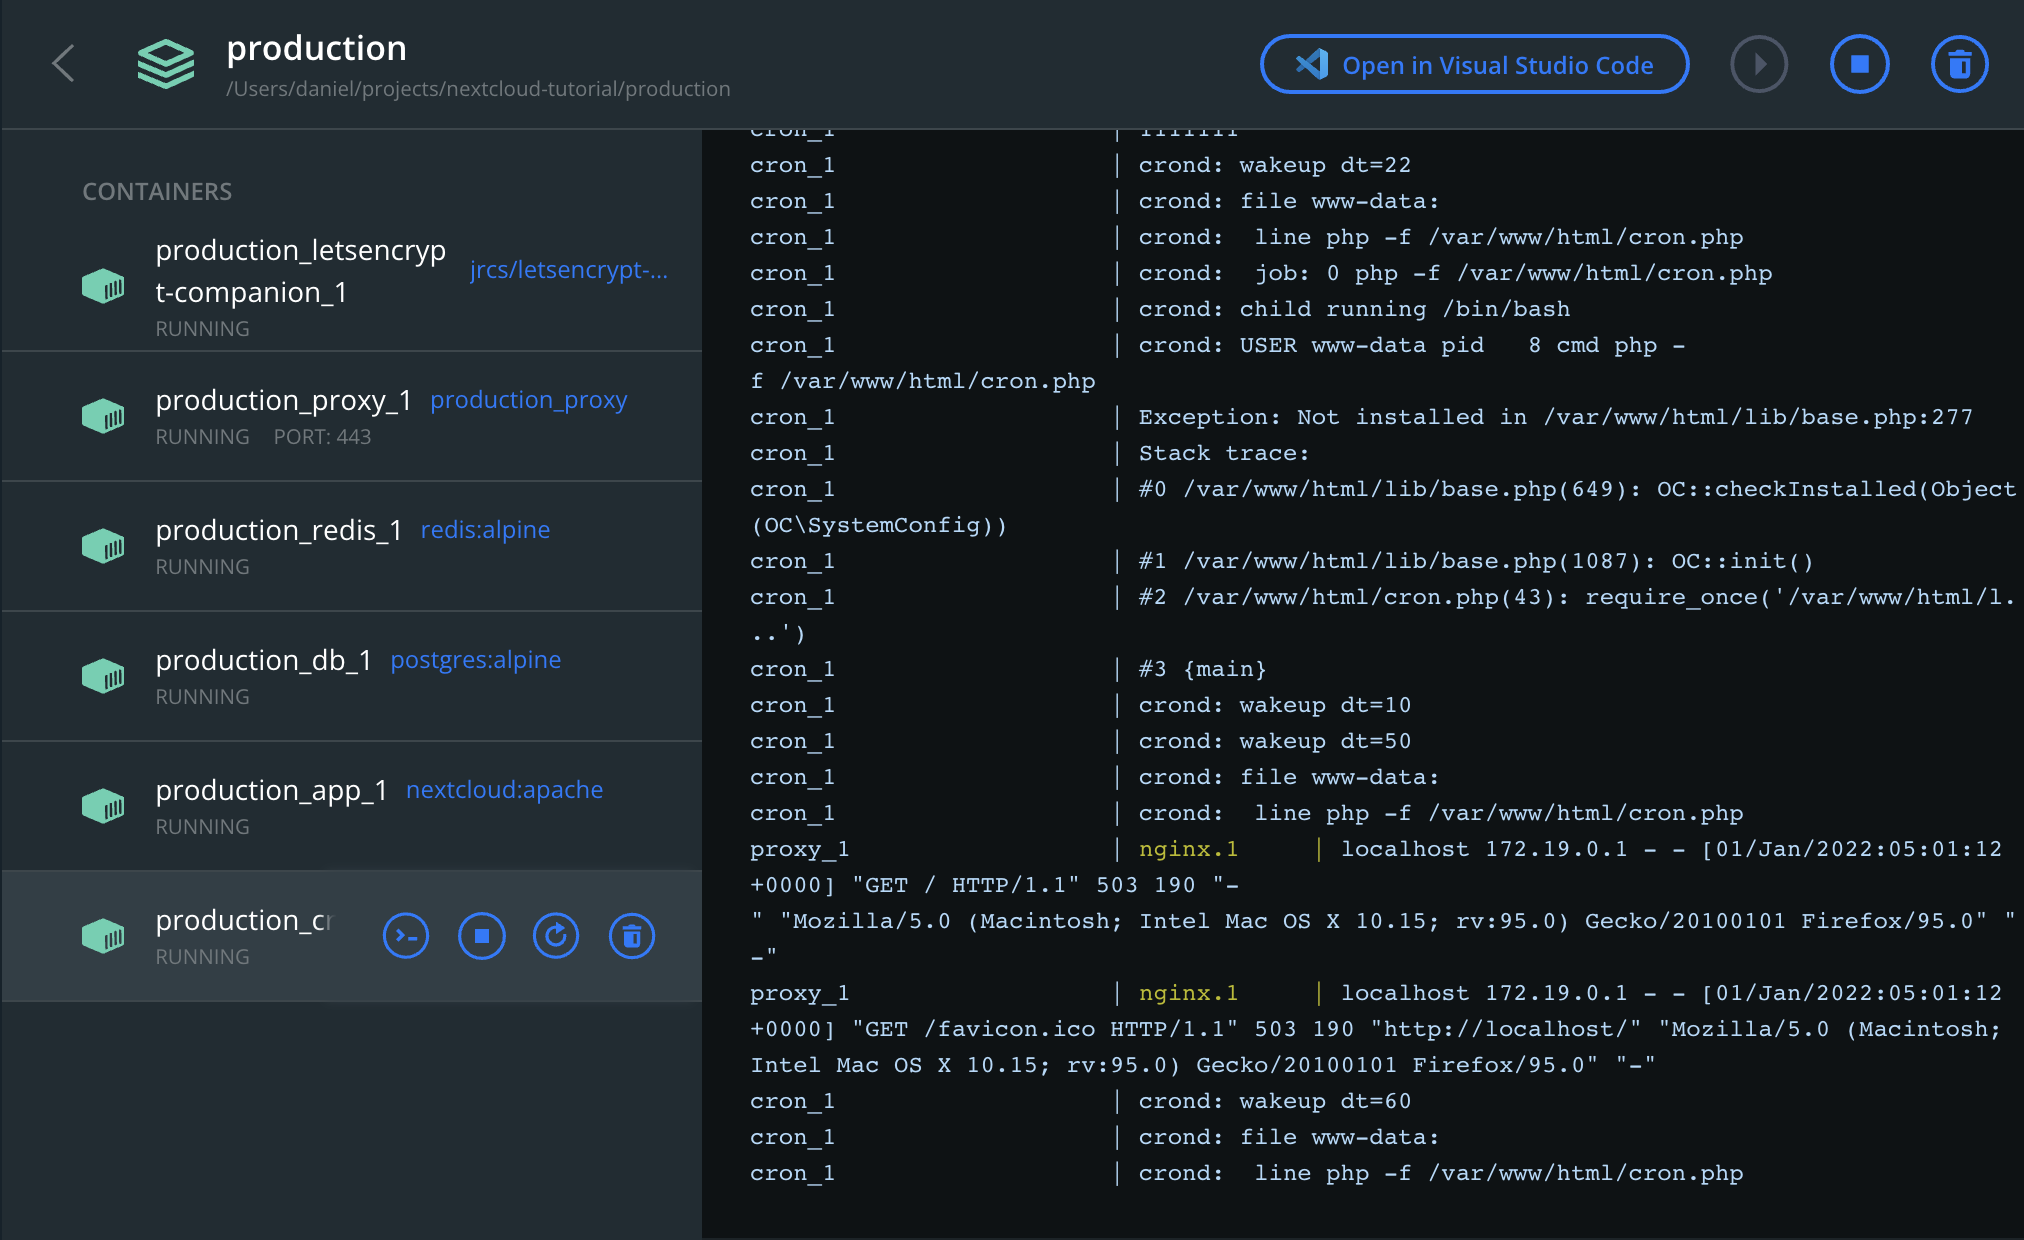
At this point, your server is up and running - check it at 'http://localhost' and you should see drum roll:

:/ But wait! This is actually good! :) The config we have required some variables/setup you (probably) haven't done yet, so it's a good sign it doesn't work yet.
Make it Public!
To get our project out there requires us to host our site on a server (check) and expose that server to the web. There are truly a million ways to do this, especially by the time you're reading it, based on your situation and how you're setting this up. I'm going to walk through what I consider a simple/free way that deals with many of the most common issues and use cases. I will be setting this up on my personal Macbook Pro still, as if this were the device to host my server. It will be living on my local network behind a gateway (my router) that uses a dynamic IP address. This will assume you have a working knowledge of how to host and set up a website/server however even if you don't my goal is that this is still easy enough to follow!
Domain Name
To start, we need a domain name to access our site. This will be what points from 'the internet' to our gateway (my router). Theoretically we could access it solely through the raw IP address however this doesn't play so nice with HTTPS/SSL which we need. The preferred route is to buy a domain name - I'd recommend Google Domains as it works well for this. If you don't really care about the domain name and don't want to pay, I'd recommend a free one from No IP as they're built exactly like projects for this, and I've used it before for NextCloud, and it works well enough. I'll discuss more later however for HTTPS/SSL it ends up being a bit easier/cheaper to just get your own domain name, so I would recommend just starting with that via Google Domains. IMPORTANT: once you have your domain name, be sure to update your 'db.env' file to include this!

No-IP
To get started with No-IP first you're going to want to make an account - at the time of this writing each account gets 3 domain names so more than enough to get started. Once you have an account, go to "hostnames" then create one. They have a list of free domains to choose from and allow you to choose the subdomain. I created dnaz.hopto.org but feel free to use any free domain you'd like. Follow any other instructions they give you, and you should be good to go.

Google Domains
To get started with Google Domains simply just buy the domain name you want for now!
Port Forwarding
Next, you'll want to set up port forwarding on your router. I won't get too specific with this since it will be very specific to your router, but you'll want to:
- Log in to your router.
- Find the 'forwarding', 'port forwarding' or even 'NAT forwarding' section.
- Forward ports 80 (HTTP) and 443 (HTTPS) to your server.
At this point, any requests sent to '[YOUR_ROUTER_IP]:[PORT 80/443]' should be directed toward your server.
Local Static IP
I won't go over how in this post, however if you're not connecting your server to your router via an ethernet cable (you really should) you'll definitely want to set up a static local IP address so that your router doesn't reassign your server's IP address on restarts or similar. This will be very specific to your router so be sure to do it properly, you should be able to test it by resetting your server and seeing if the IP address stays the same.
Dynamic DNS
Once you have a domain name, you (probably) need to set up your Dynamic DNS. Most ISPs don't give you a dedicated, static public IP address but rather a dynamic one. It doesn't always change too often but to ensure that your domain name is always pointing at the right IP address we need to set up some way to update these values.
No-IP
For No-IP, simply download their Dynamic Update Client (DUC) on your server to automatically update your IP address. It's pretty simple - just login and select the hostname to update.
Google Domains
On Linux/Mac you can use a tool called ddclient to manage updating your IP address. Jake Holmquist has a great write-up on how to do this here but TLDR is download ddclient, setup dynamic DNS in Google Domains, give ddclient credentials from Google Domains. That said you really should read it!
HTTPS / SLL
For No-IP, you will need to do a bit more work to get HTTPS/SSL working properly. While you can self sign your certificates they will still give warnings and ultimately push you to try and pay for their SSL/DNS service - more info here. While this does work, it's a bit more janky than using a ' custom' domain. It's also comparable in price to just buying your own domain name which will work much more easily which is why I just recommend getting your own domain.
NextCloud Config
To edit your NextCloud config you have a few options. Once up and running, most tasks can be completed through the NextCloud UI/Admin settings, however, occasionally, you will need to edit the 'raw' config - like right now!
Config.php
Go back to Docker Desktop and open your environment. Go to the 'app' container and click the "CLI" button (should be the leftmost).

This will open a terminal in this container allowing you to access its filesystem.
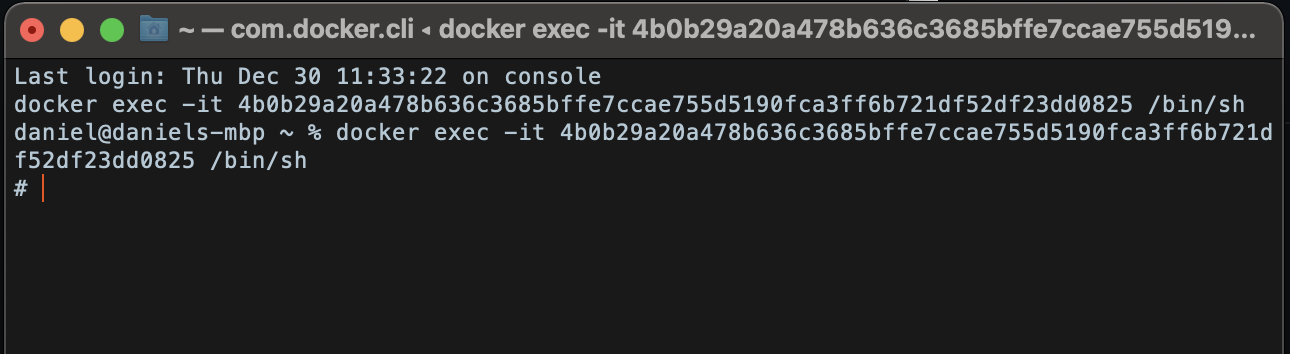
Once inside, update and install the nano text editor:
apt-get update apt-get install nano
Then navigate to config/ and type:
nano config.php
To edit the config file. Once in the file, find the 'trusted_domains' section and add your domain like so:
'trusted_domains' =>
    array (
        0 => '192.168.1.100', 1 => 'dnaz.hopto.org',
    ),
This is effectively a whitelist for what addressees we are okay allowing nextcloud to run on.
Config Automation
You can automate some config as well, like your admin account/password through your docker-compose.yml file like so:
services:
    nextcloud:
      environment:
      - NEXTCLOUD_ADMIN_PASSWORD_FILE=/run/secrets/nextcloud_admin_password

secrets:
    nextcloud_admin_password:
      file: ./nextcloud_admin_password
When you’re using secrets, each Nextcloud environment variable should have _FILE appended to its name. This instructs Nextcloud to get the value from the referenced file path.
Conclusion
Congratulations! If you followed through you should now have a fully functional, publicly accessible and secure self-hosted NextCloud server! It's pretty fun to say I now have a fully functional and (dare I say) robust self-hosted cloud server able to host 100s of GBs of backups/archive data in my Nextcloud and able to access it even 1000's of miles away.
NextCloud has a ton of extra features, apps, plugins, etc. to play around with depending on how into the ecosystem you want to get, almost enough to justify another post but that's a problem for another day. Word of advice too - once you throw a ton of files in your NextCloud, give each of your clients enough time to download everything and get settled before editing stuff or adding a bunch of add-ons but I'll go over this more in depth in the next post.
Just for honesty's sake: despite all that, I did still end up paying the $1.99/month for Google Photos storage - sadly can't really emulate the sorting and app itself yet. Equally, this will depend on a million things like your actual setup, hardware, physical location(s), etc. but NextCloud is usually a touch slower than OneDrive, Google Drive, etc. as you might expect That said, I was able to comfortably get rid of all my other cloud solutions/providers though and really simplify my backups/files which is really, really nice and simple. Also refreshing knowing (most) of my data is mine or at the very least backed up well!
Disclaimer: as much as with any cloud service, whatever is in your cloud is online and thus you should be careful putting any sensitive information in any cloud service. While it is nice that NextCloud is yours and can be encrypted (post coming soon) the same mostly holds true here as well.
Resources
The full code/dockerfile is available here if you'd like to try for yourself!
Comments
No comments available :/
Leave your thoughts! 💭
Tags
Cloud Storage
NextCloud
Self Hosting

Version Unavailable
/
unavailable
Copyright 2026 © Naztech Inc. and Daniel Nazarian