By: [email protected]
Published July 3, 2025 at 01:02 AM
They're Like Cards But 3D
Ever wanted to show someone your endless love and creativity? Well boy do I have your solution.
Introduction
So a fun fact about me, thanks for asking, is I love hand written cards.
Receiving of course but I really like giving them to others as well. They are often poorly drawn, hopefully written slightly better but the focus is definitely the silly drawing, often an inside joke. I'd like to consider it one of my 'bits' honestly but different story.
They're FAR from works of art - I won't post any in the spirit of privacy but take my word for it. I'd call them cartoons or 'lite comics' at best.
A few months ago, I was in a bit of a doom loop about AI and the future of humanity and work and all that fun stuff, and I had the passing thought - "Well at least my cards can't be automated."
But can they?
Disclaimer - if you see where this is going, I want to warn right now, this is NOT a comprehensive guide on how to 3D print or 3D model or best practices or anything like that. Quite the opposite. This is for people like me who have no idea what they're doing but aren't afraid to poke around a little (or a lot.)
An Automation Exploration
Can they be automated?
My cards again, not works of art, but thoughtful and they took time and a generally respectable amount of thought - could that be outsourced?
Could some technologies:
-
Come up with a card idea for a particular person + event?
-
Sketch up said card idea
-
Somehow generate and write the card?
While I've taken a stab at all 3 points, post will focus primarily on that third point - how can we actually generate the card? Ideally write it...?
But Can It Draw?
So maybe the trickiest part - how do I actually automate the drawing of the cards? I could make a robot or something to try but... that's hard.
That's when I got the idea - why don't I 3D print it!
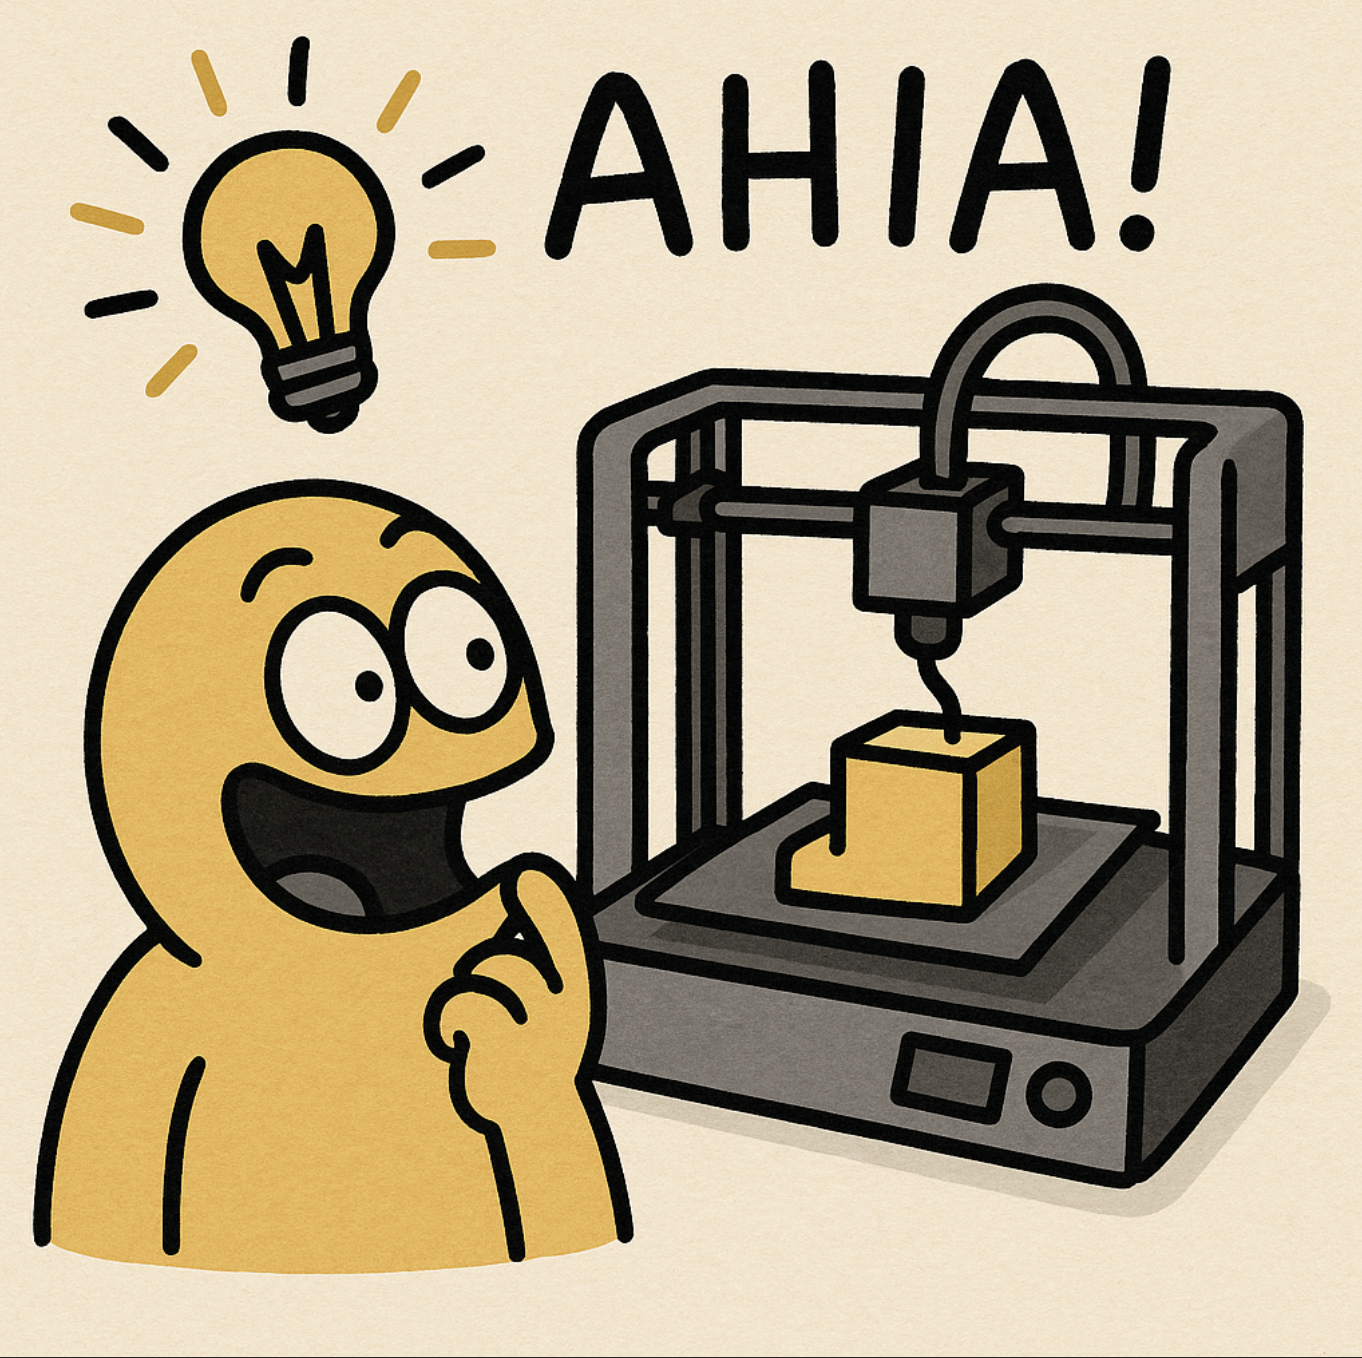
I won't lie it wasn't a bad idea - but at the moment I didn't even have a 3D printer let alone modeling experience.
First, Let's Get A Printer
Yea so first I had to get a printer and get comfortable with it.
I did a lot of research ended up getting a Bambu Lab A1 Printer and so far I've been thrilled with it. I won't go down the rabbit hole of why I chose this one but just a few reasons:
- Multi color prints (up to 4) via the AMS system
- Ease of use - Bambu Lab has been described as "The Apple of 3D Printing"
- Reasonably priced compared to other, nicer 3D printers
I highly recommend it but also highly recommend you do your own research and figure out what features are important to you.
Now we're off to the races!
Modeling (The Computer Kind)
Now for the hard part, how do I actually get my cards into a 3D format?
Again - this isn't going to be a comprehensive guide but I'll walk through the steps I took and some tips / tricks I came across.
It Starts With Art
First things first, we have to make the thing we're modeling. In this case a card obviously.
There's not a ton for me to say here but 1 big piece of advice I can offer: KEEP IT SIMPLE.
I will explain later why but the less lines, unique elements, etc. the better every step of this process will be.
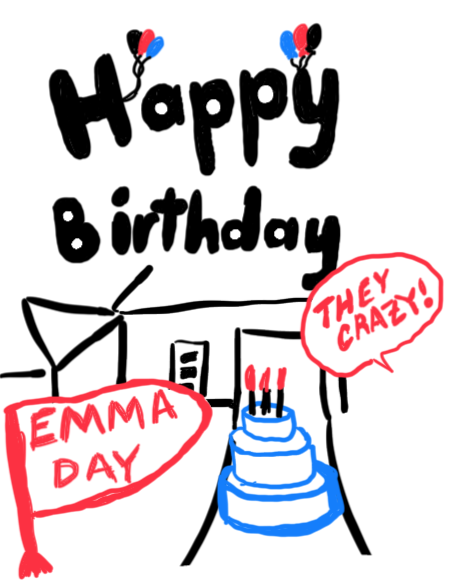
To give an example of how you can / should simplify, this was my v1 of my card:
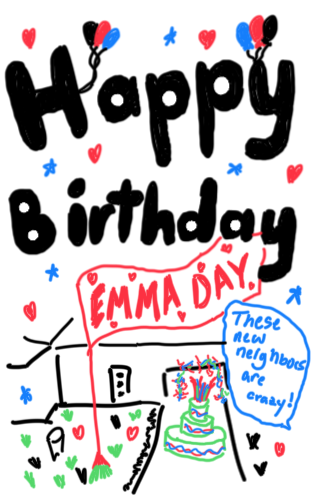
and my v2 after I was forced to simplify:
Now, Add A Dimension
This was the part I was dreading the most. I'm not a mechanical engineer, I have literally zero experience 3D modeling anything.
First, we're gonna need to convert our image to an SVG and trace the lines.
Why?
Well, right now our image is just a flat image. No detail. We need to convert it to a vector based image (SVG) so software can recognize the different strokes and details.
There's a lot of software online that can do stuff like this, I used Inkscape and found it easy. All you need to do is:
- Upload your image to Inkscape
- Be sure you're using the proper units - either mm or in
- Hit "Path" -> "Trace Bitmap
- Profit!
Nice, now you've got an SVG that's ready to play.
Next, you gotta get a 3D modeling software you're comfortable with and fits your budget. There's A LOT of options here, some I played with include:
All good options, however, I was too dumb for any of them. The one that ended up being the most intuitive for me was Autodesk Fusion. Not to mention it's free for personal use.
E X T R U D E
Once you've got your software going, we're ready to go.
Now, the exact steps from here will look different based on your set up but generally what you're gonna do is:
- Again, confirm your units mm or inches
- Import our image and resize it as big as we'd like
- Click "Surface" -> "Extrude" to 'thicken' the lines of the image. I make it usually 6~10mm thick usually. - This is kinda 'where the magic happens'.
- Draw another surface for the card itself, place it behind the drawing and similarly extrude it
- You should make this a bit less say 3~6mm thick.
- Export to STL for the last step!
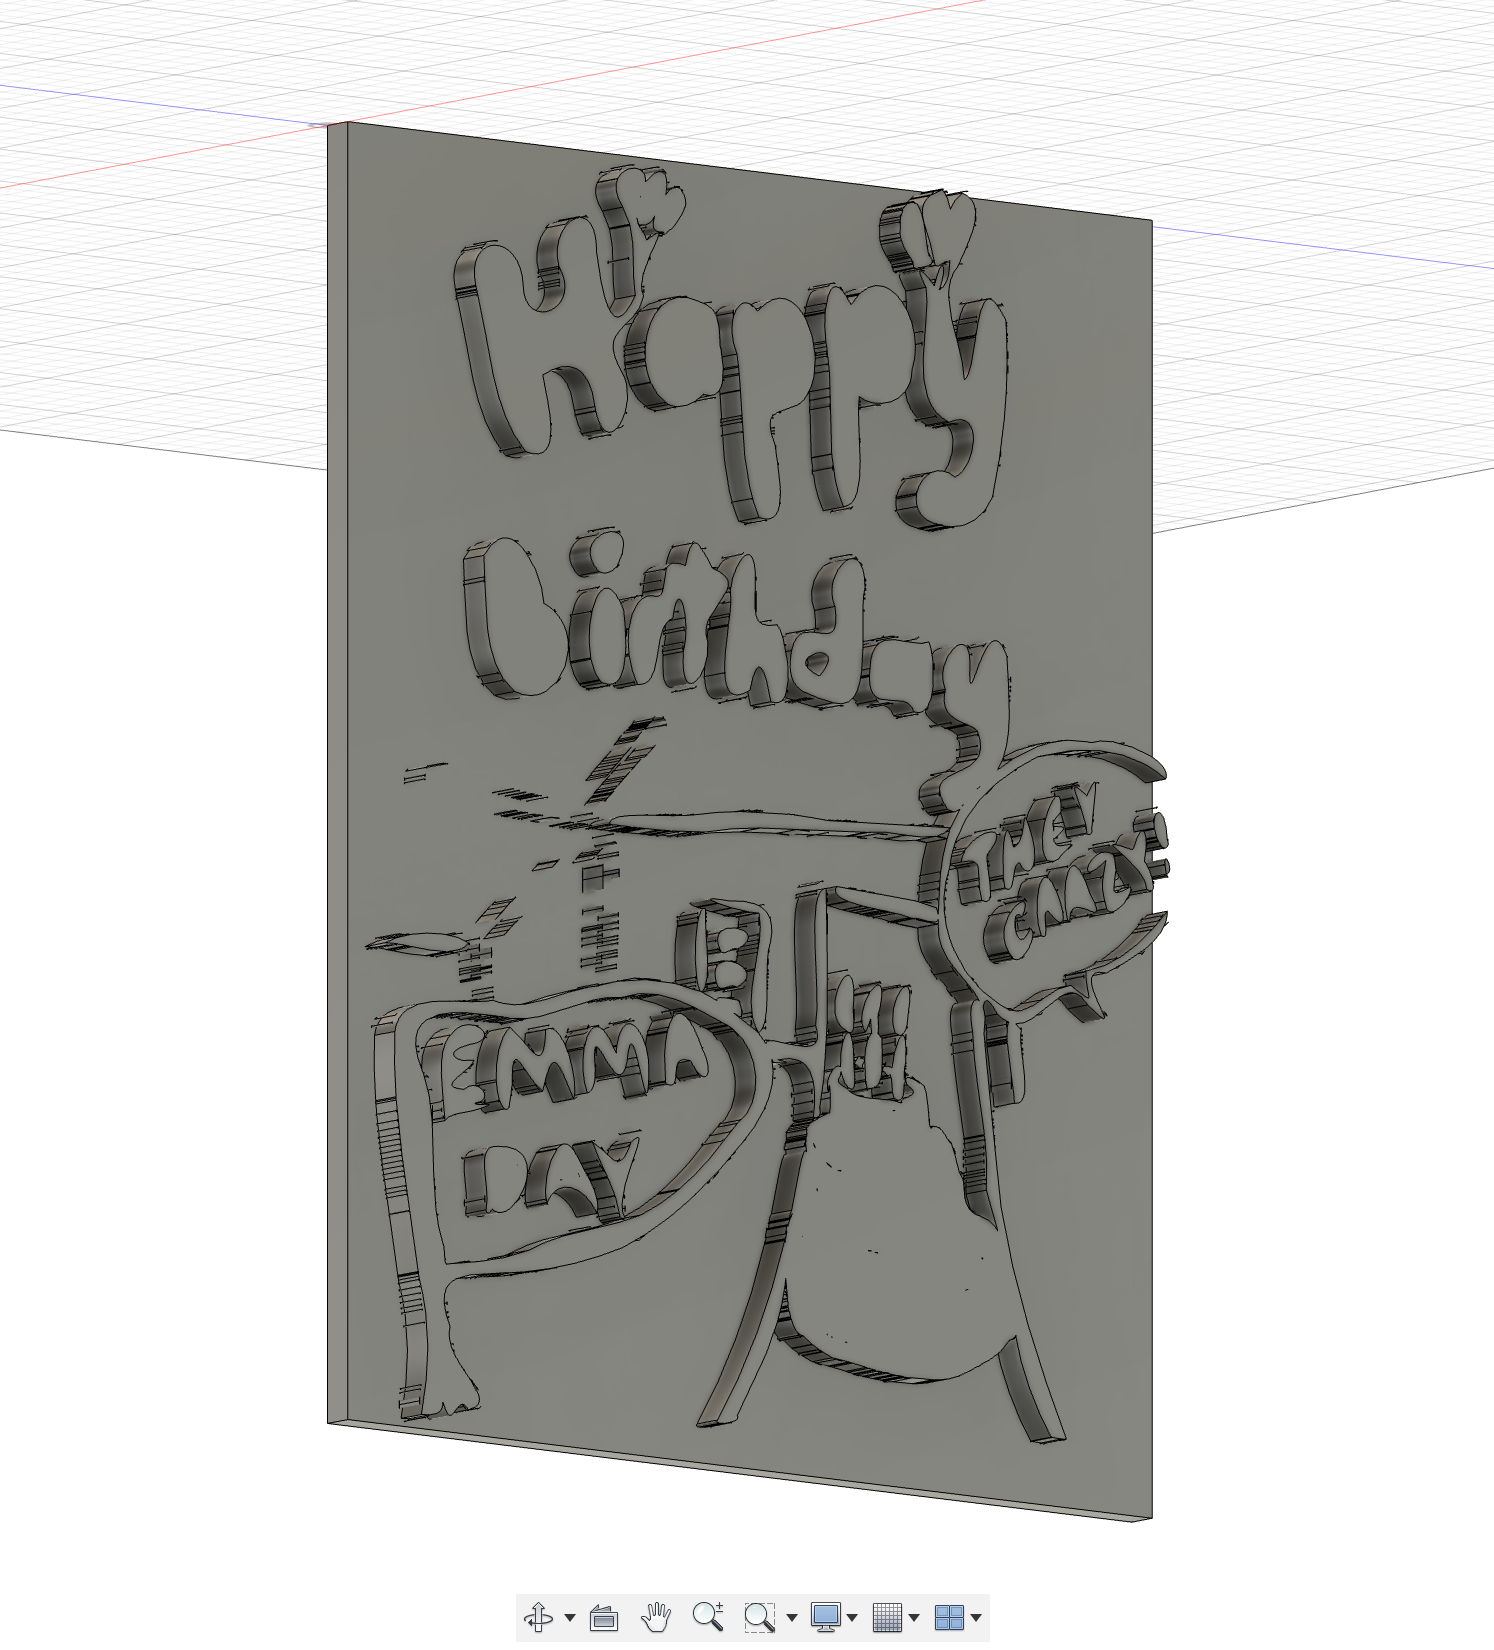
Big tip with this step - it is crucial your SVG isn't too complex or it will make your software CRAWL here and potentially not work altogether. Hence why my more complex drawings failed.
I think this is also time to disclaim - you may have noticed based on the image I'm not printing the card itself. After a lot of trial and error with the actual prints, I found it easier to print my design on a block like the image shows, then I glue that onto a separate 3D printed card.
Something like this but blank of course.
Slice The Fruit
Now for the fun part - let's slice it up!
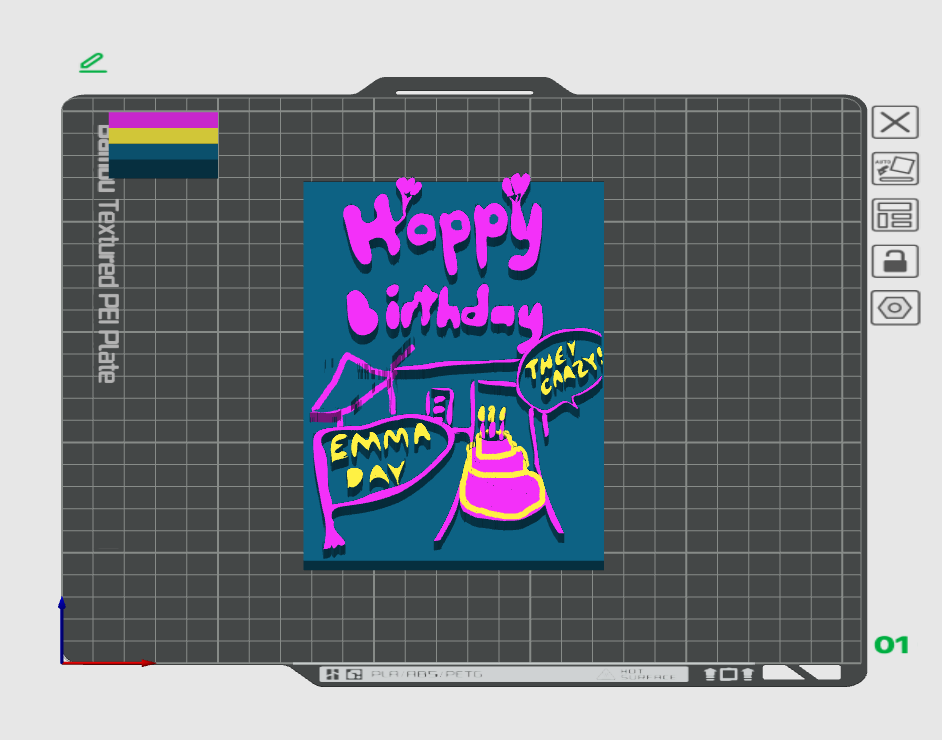
A "slicer" is a piece of software used to translate 3D modeling files - in this case an STL - to commands that your printer can understand. There are A TON of options for this - personally I just use Bambu Studio as that's built to work with the A1 / Bambu Labs printers and is pretty intuitive.
Before getting into it, again, make sure your units match up!
This part is pretty easy though, just import your STL then deal with the colors, add supports, etc.
Then hit 'slice' and 'print'!
The Results!!!
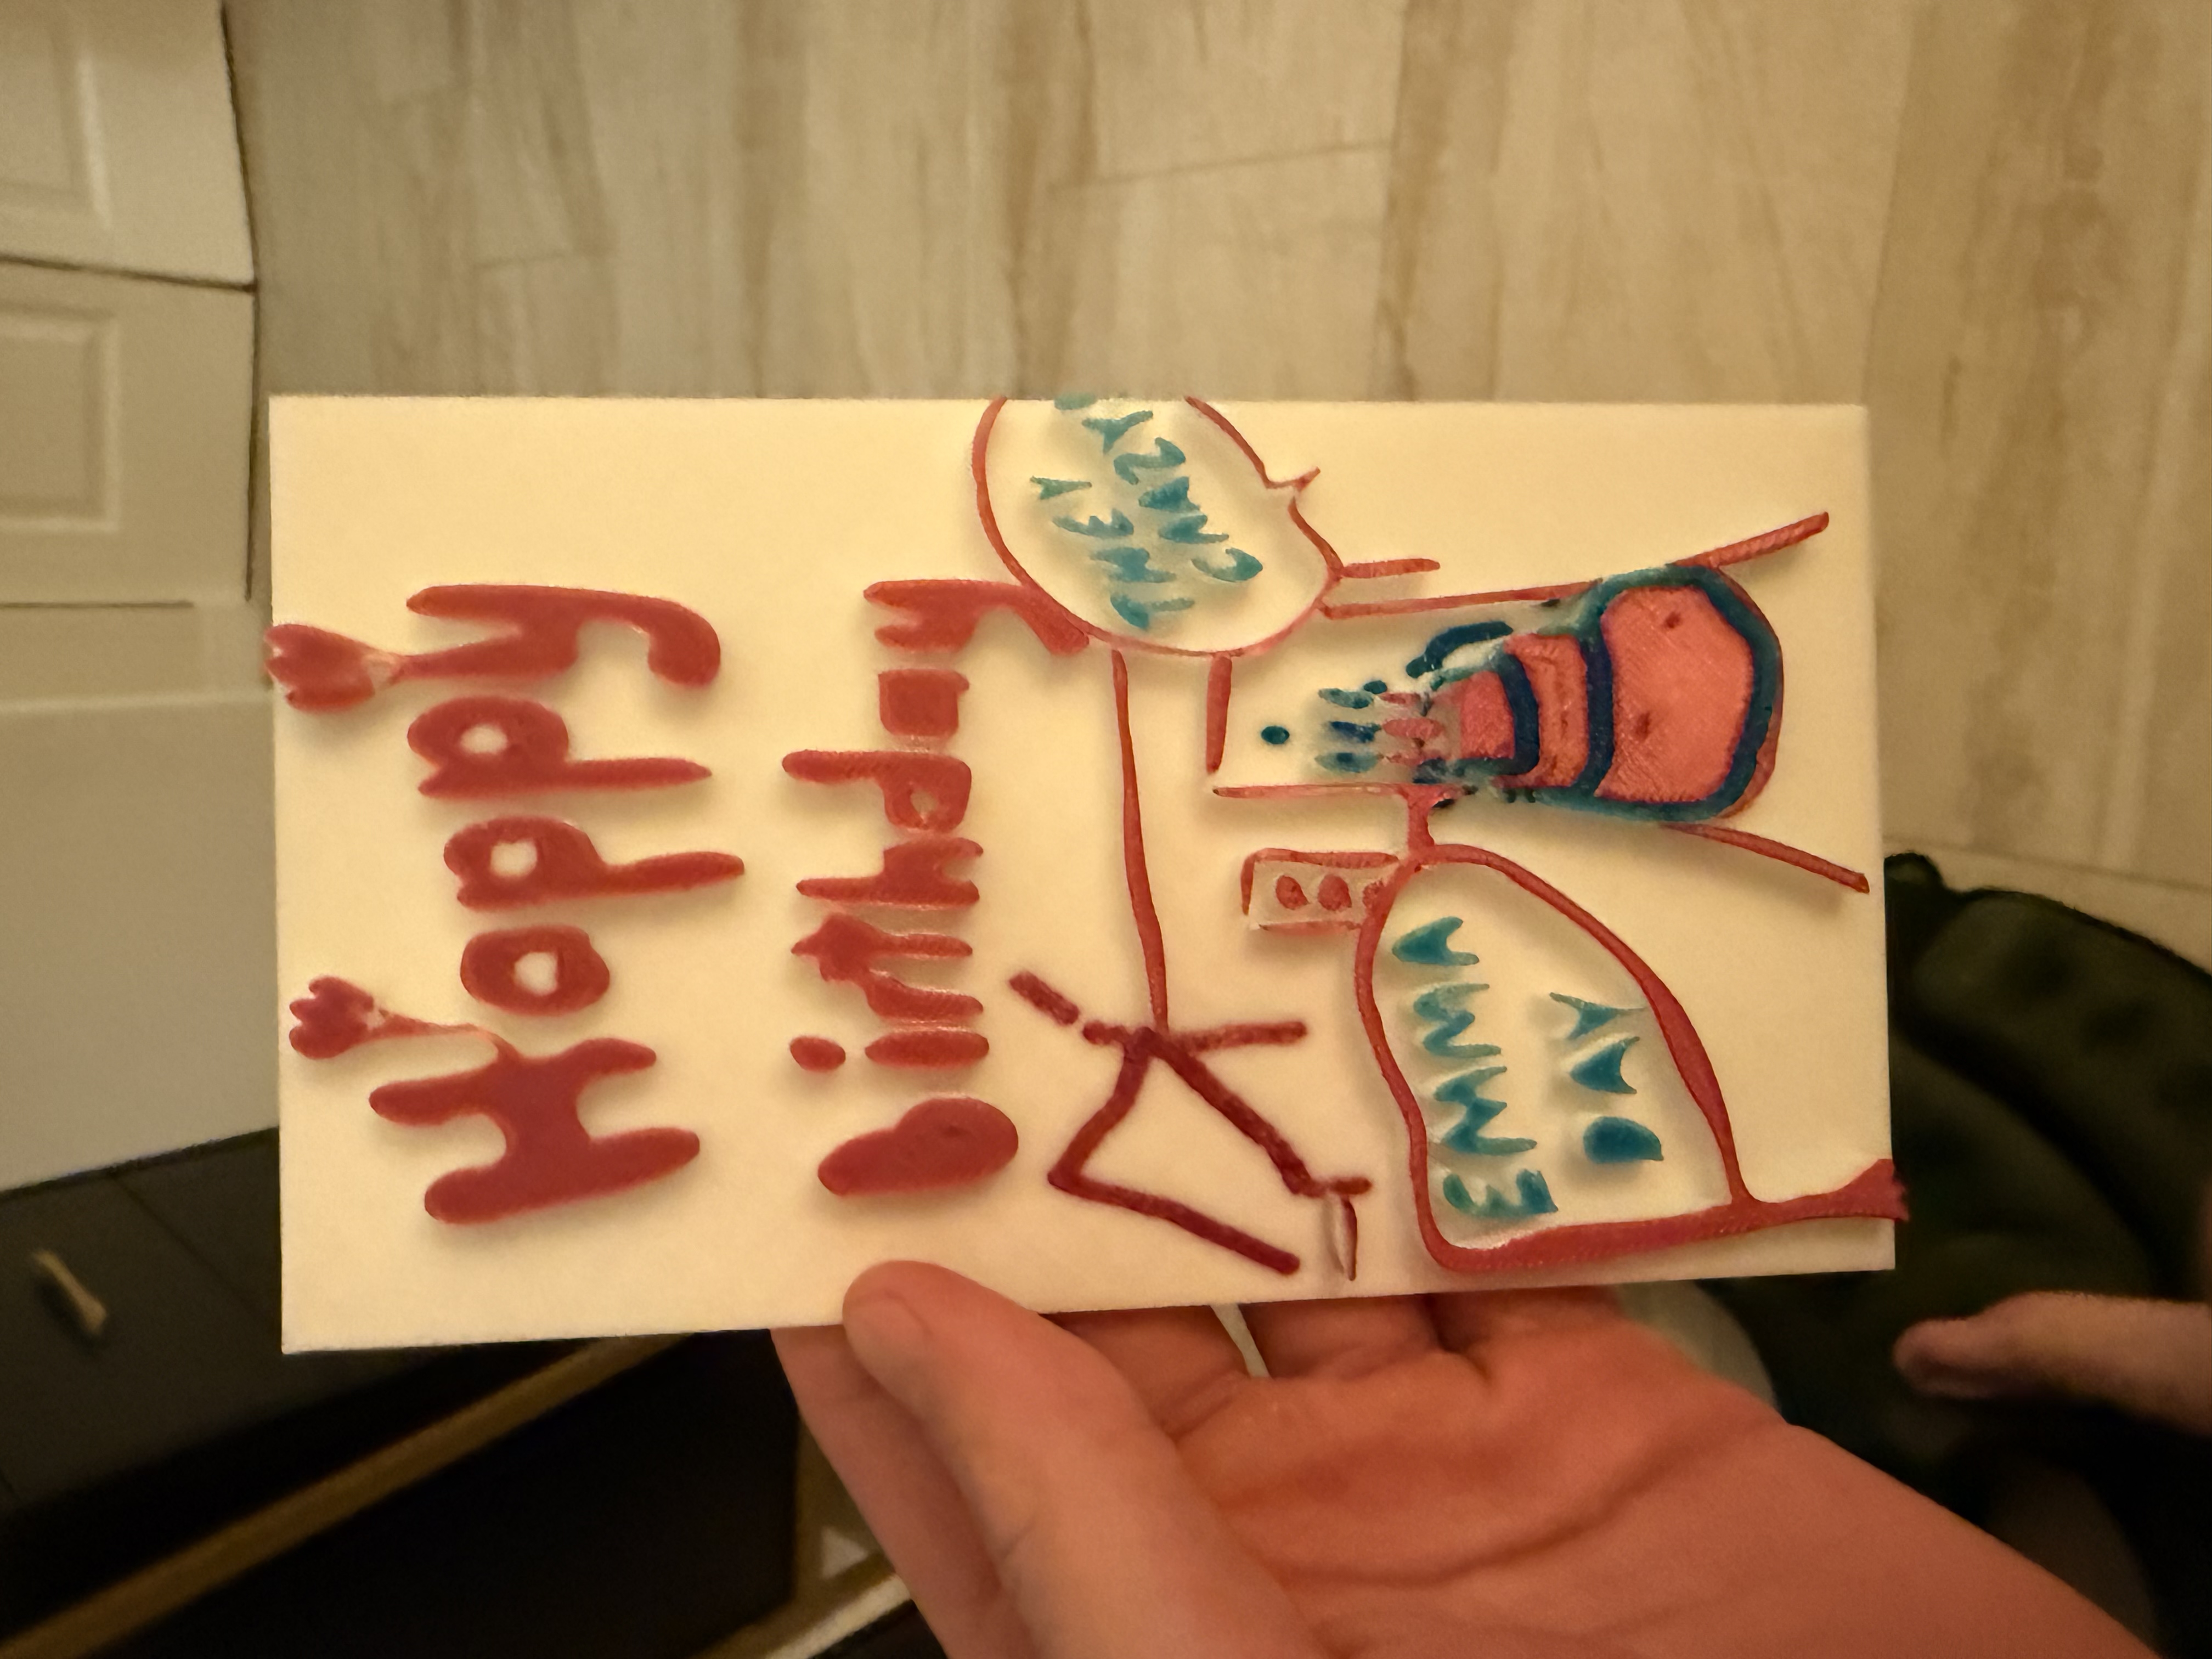
Once it's printed you should be looking good! Here's how mine came out:
FRONT!
BACK!
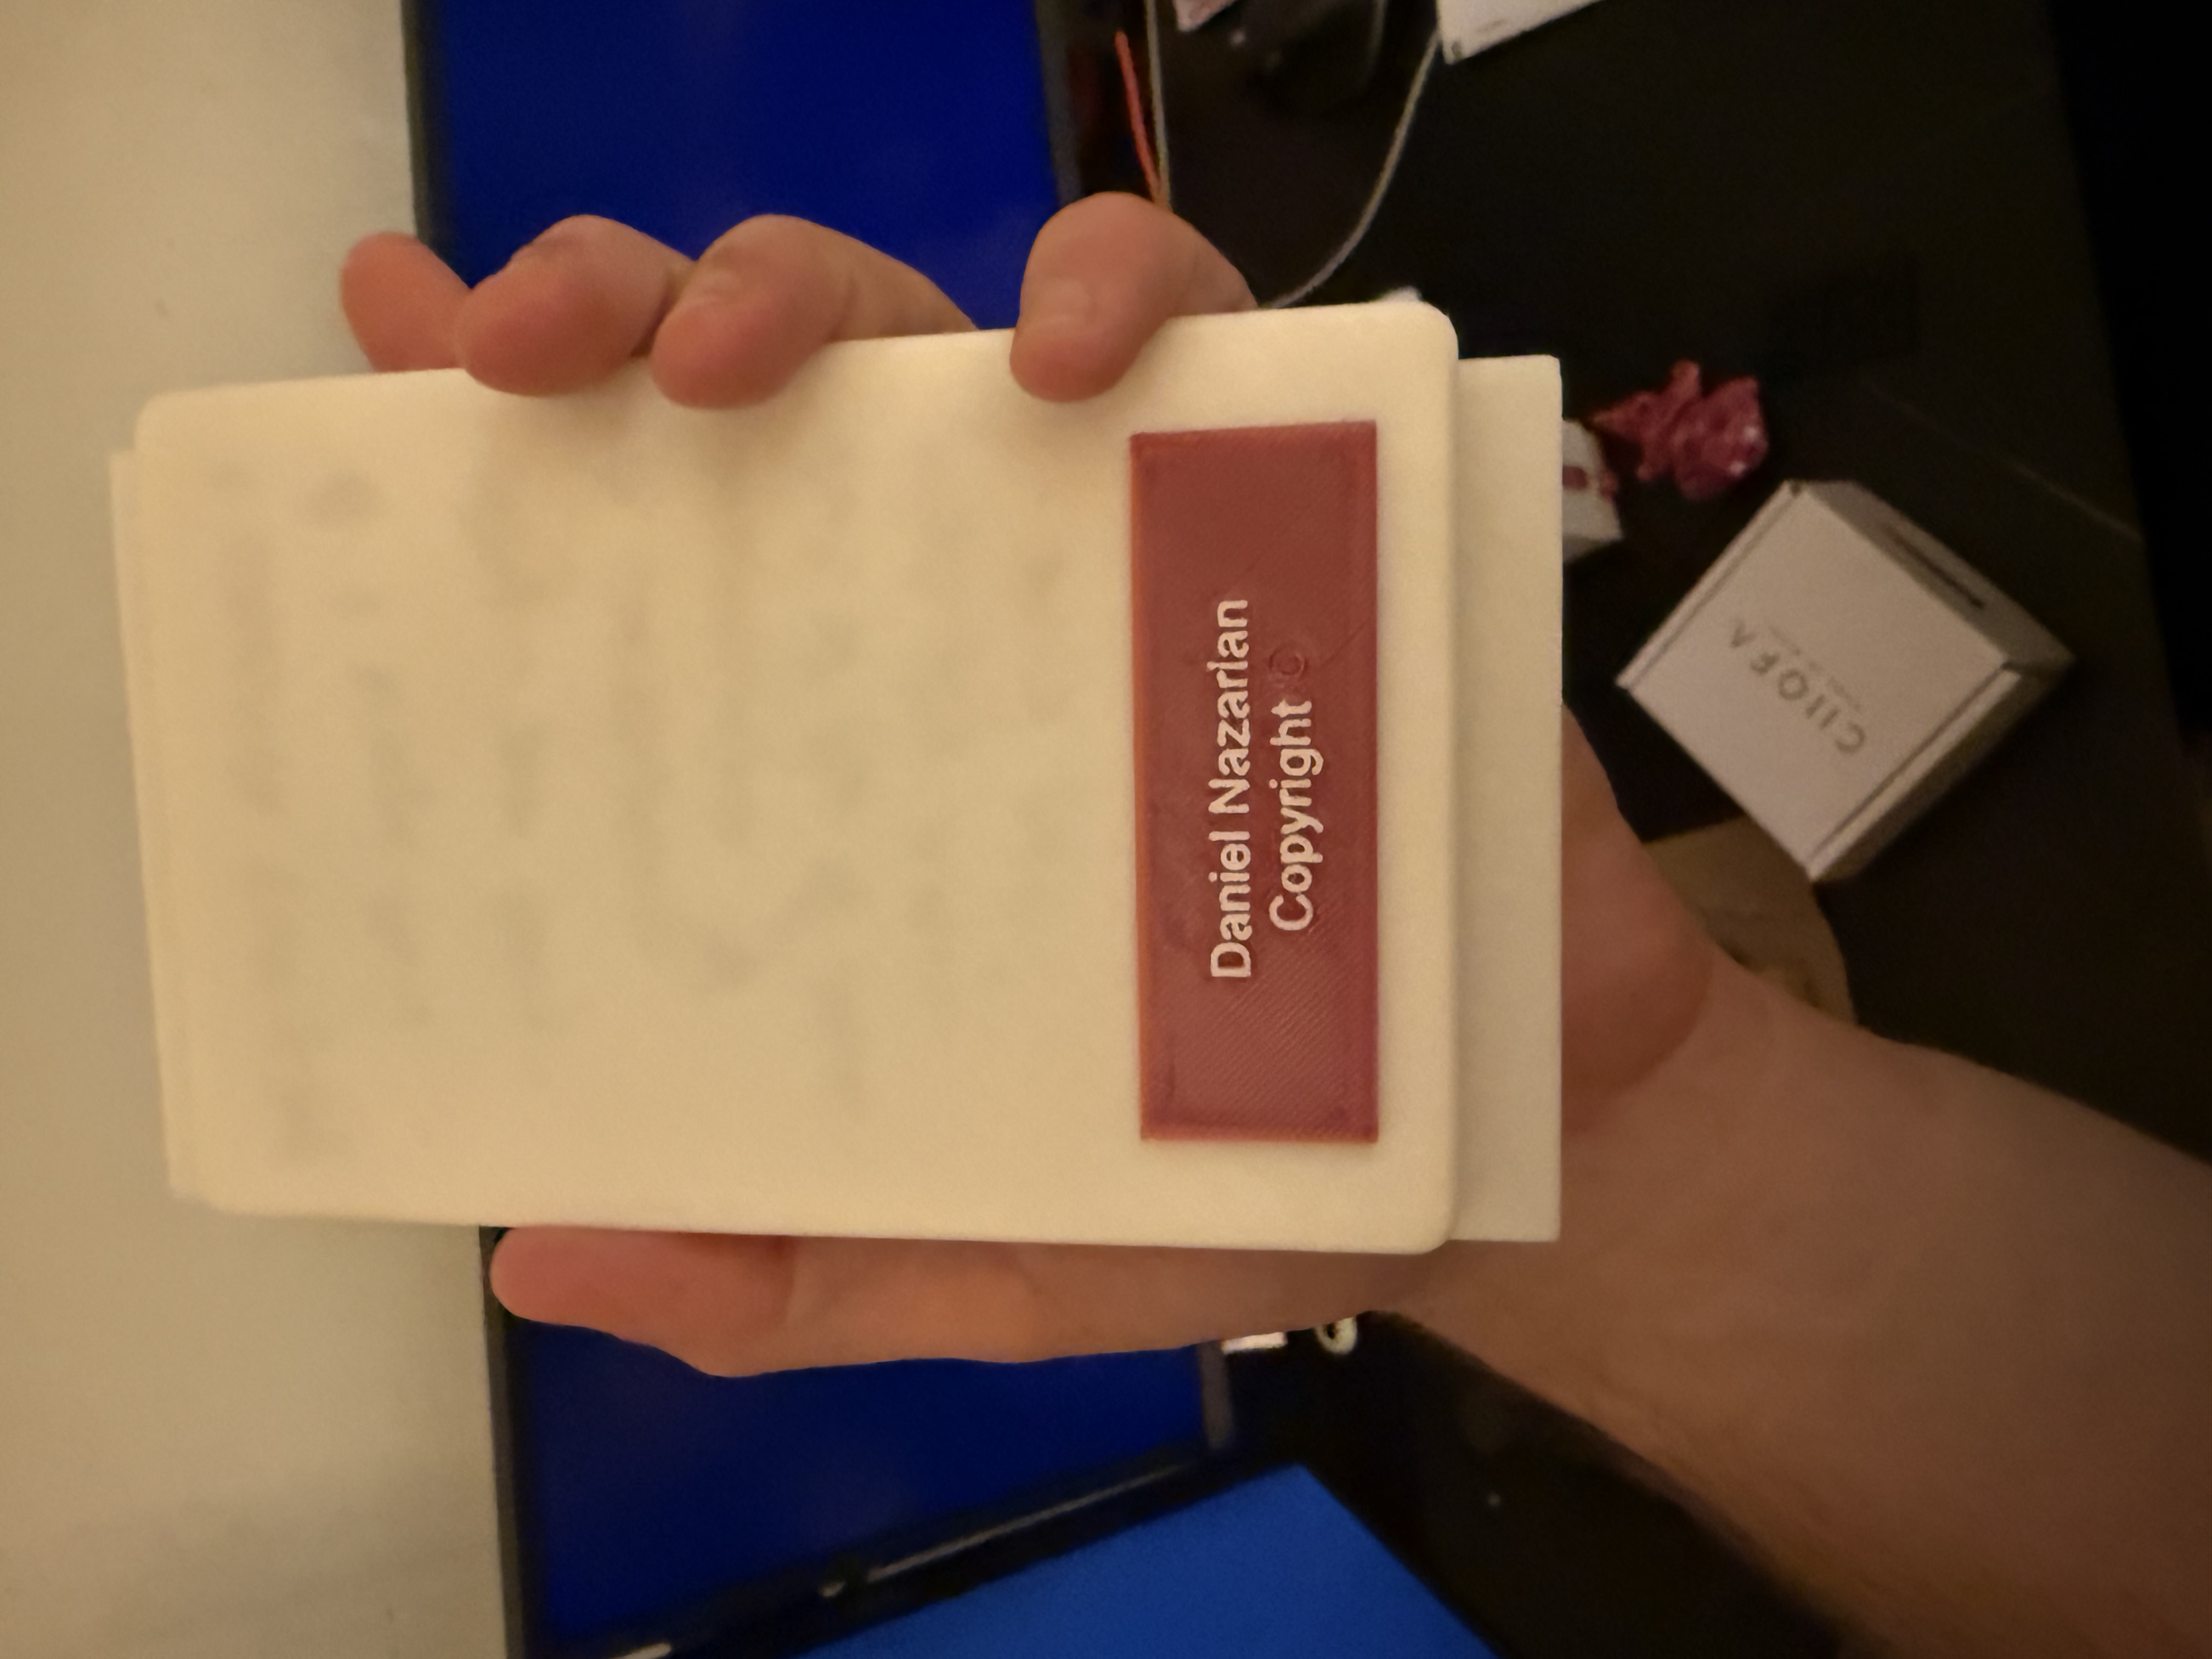
Few tips:
- Go easy with the colors if you have multi colored prints - it can add A LOT of time and waste to switch colors a lot!
- As mentioned earlier you'll notice my graphics and copyright are plates that I printed then glued on. I found this a lot easier than trying to print it as one piece
Conclusion
And that's it! I'll be honest this project was one of my more challenging / unique ones in recent memory. I really wanted to do it for a while but the software really scared me off.
I'm really glad with how it turned out - I've improved my process a bit even since this first card which is really exciting. As mentioned earlier there's definitely more ideas to this. My current biggest TODO is to improve the detail I can include in the card as I really have to dumb them down to avoid crashing Fusion.
Might I say too people are usually quite impressed by these - if a bit confused what exactly they're looking at 😉.
Having tons of fun with my 3D printer as well so prepare for more posts about that as well!
Also shout out to my girlfriend Emma for letting me publicize her birthday card <3.
Thanks for reading!
Resources
Comments
No comments available :/
Leave your thoughts! 💭
Tags
3D Printing
CAD

Version Unavailable
/
unavailable
Copyright 2026 © Naztech Inc. and Daniel Nazarian